14 DAY TRIAL //
 There isn't an obvious tool to use on OS X for those times when you want to record what happens on your iOS device's screen, be it an iPhone, iPad or iPod touch.
Recording an iOS device's screen might come in handy if you have to create your own app screencasts or for making an easy-to-follow video guide for your friends who have just switched from other mobile platforms to Apple's iOS.
Fortunately, Apple comes to the rescue and provides you with the right tool for the job, the default QuickTime Player OS X application known primarily for helping users play videos and not for its recording capabilities.
To start recording the screen of your iPhone, all you have to do is follow the following x steps.
Step 1 - Launch QuickTime Player
Connect your iPhone and start the QuickTime Player app (hit ⌘ + SPACE on your keyboard, write "QuickTime" without the quotes, and hit ENTER (⏎)).
Step 2 - New movie
Go to the File menu in the QuickTime Player app and click on the "New Movie Recording" entry.
Step 3 - Choose recording device
Click Next to the red recording button and choose your iPhone from the drop-down menu that appears. Here you can also choose the Microphone to be used for your recording and the quality of the resulting video.
Step 4 - Record
Click the Record button, and after you're done, click again. Once the recording process has stopped, you can save the video using the File > Save menu or export it via the Export sub-menu.
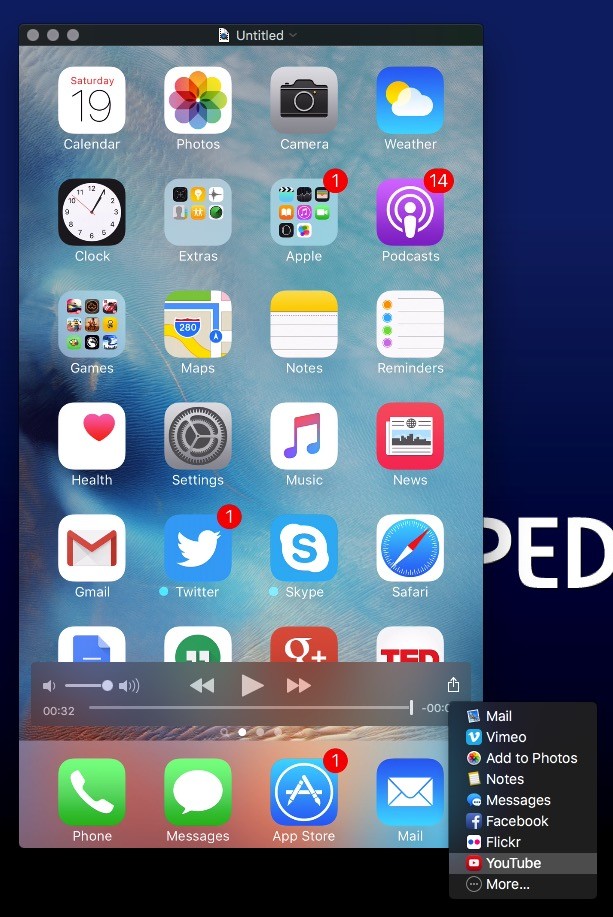
The QuickTime Player app will also make it simple to share your new video with your friends via Mail or Messages, and to publish it to YouTube, Vimeo or Facebook using the Share button.
If you know other ways to record an iPhone's screen using a Mac and only the default apps installed on OS X, share them with us by leaving a comment below.